Make Creamy Homemade Condensed Milk in Just 5 Minutes
Imagine whipping up a batch of rich, sweet, and perfectly creamy condensed milk right in your own kitchen, ready to transform your favorite desserts, sweeten your morning coffee, or add a luxurious touch to your baking. What if we told you it only takes five minutes of active prep time? Ditch the store-bought cans and embrace the magic of homemade condensed milk – a surprisingly simple yet incredibly rewarding culinary feat.
For many home bakers and dessert enthusiasts, condensed milk is a pantry staple, indispensable for classics like key lime pie, tres leches cake, or indulgent fudge. However, store-bought versions often contain preservatives or ingredients you might prefer to avoid. This guide will empower you to create a superior, fresher alternative with just a handful of ingredients and the speed of a professional chef. Get ready to impress your taste buds and elevate your cooking!
Why Choose Homemade Condensed Milk? The Benefits Are Sweet
Beyond the sheer satisfaction of creating something delicious from scratch, making your own homemade condensed milk offers a plethora of advantages that make it a worthwhile endeavor:
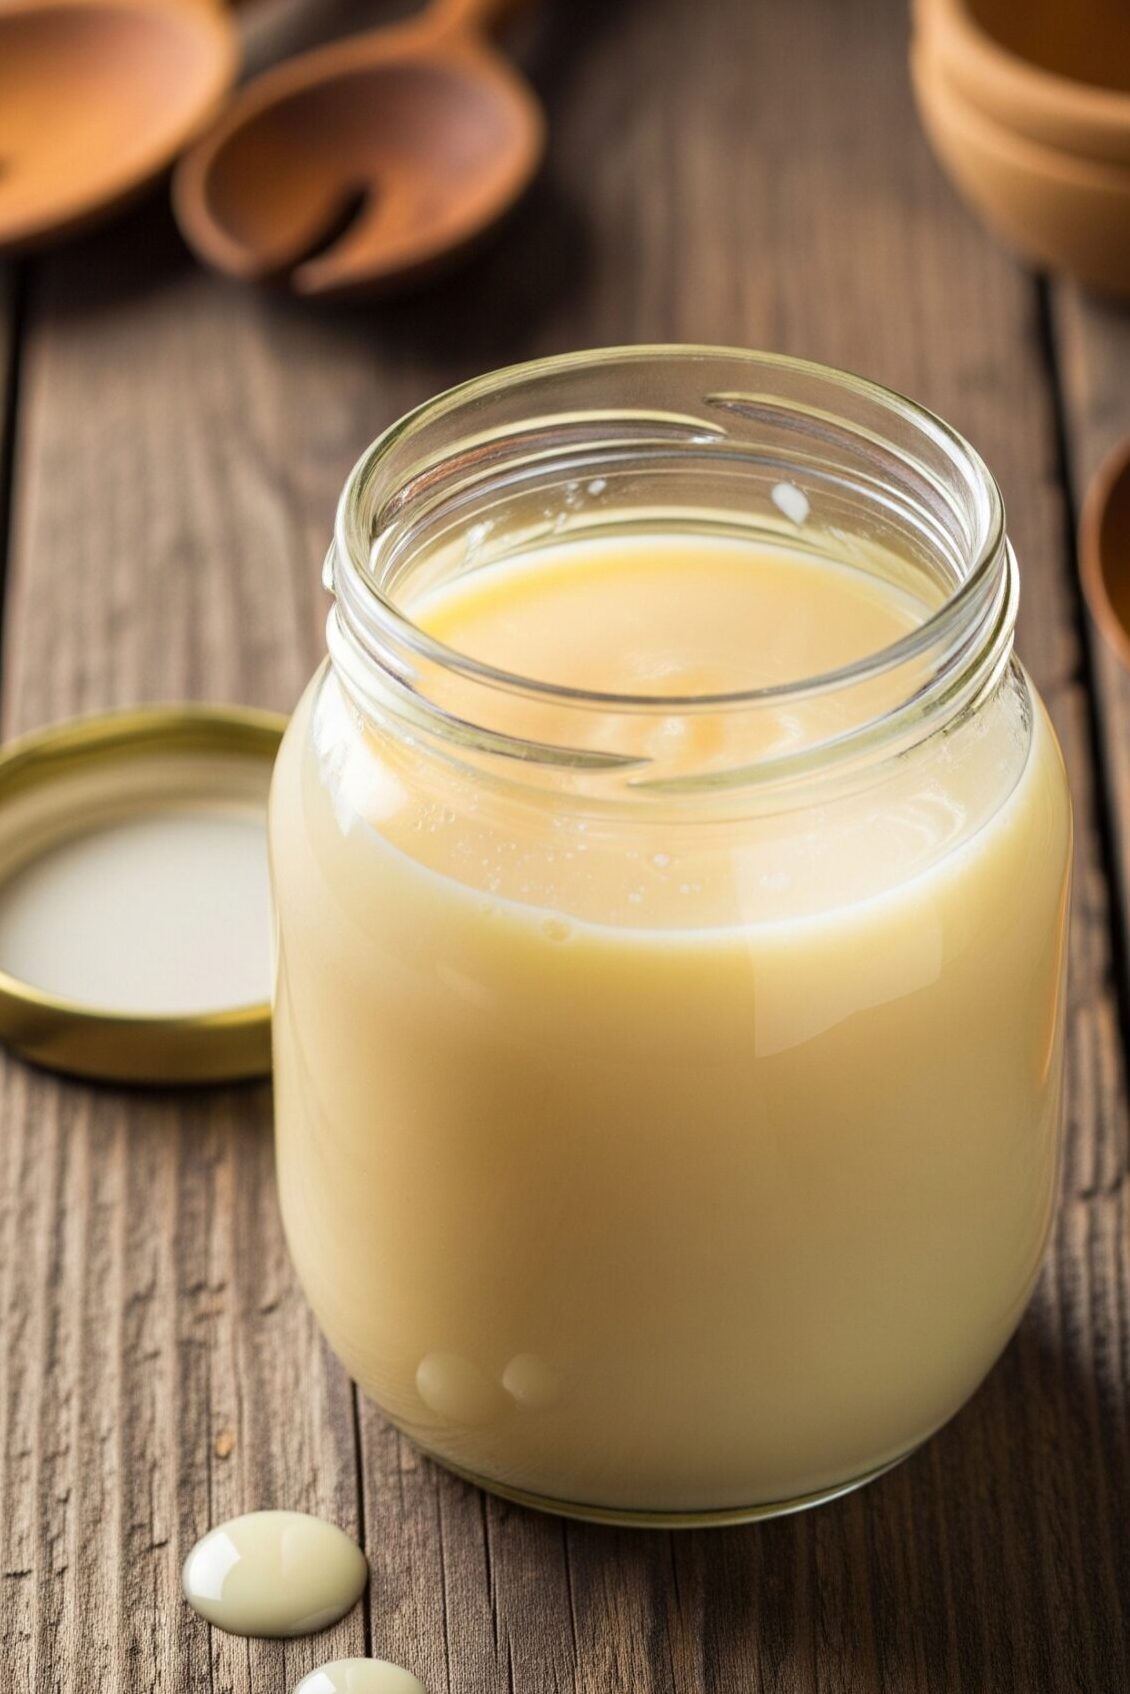
- Unmatched Freshness and Flavor: Unlike its canned counterpart, your homemade version will be free from artificial preservatives, offering a purer, more vibrant taste that truly shines in recipes. The rich, creamy texture is often superior, too.
- Ingredient Control: You dictate what goes into your condensed milk. Choose organic dairy, adjust the sweetness to your liking, or even experiment with different types of sugar. This control is invaluable for those with specific dietary needs or preferences.
- Dietary Adaptability: The beauty of making it at home is the ease with which you can tailor it. Need a dairy-free option? No problem! Vegan? Absolutely achievable. By swapping out traditional dairy for plant-based milks and vegan butter, you can create a version that suits almost any diet. To dive deeper into these variations, check out our article on Homemade Condensed Milk: Easy, Versatile & Dairy-Free Options.
- Cost-Effectiveness: Often, the individual ingredients for homemade condensed milk are more economical than buying pre-made cans, especially if you bake frequently and use milk powder for other purposes.
- Instant Gratification: The sheer speed of this 5-minute recipe means you're never caught without this essential ingredient, making last-minute baking a breeze.
Your 5-Minute Recipe for Creamy Perfection
This recipe harnesses the power of a blender and a few pantry staples to deliver a rich, creamy homemade condensed milk that requires no stovetop cooking beyond heating water. The key is ensuring your ingredients are quality and your technique is precise for that perfectly smooth consistency.
Ingredients:
- 1/2 cup (120ml) Simmering Water (very hot, but not boiling rapidly)
- 1 cup (200g) Granulated Sugar (or powdered sugar for an even smoother start)
- 1 1/4 cups (150g) Whole Milk Powder (full-fat is crucial for richness)
- 1 Tablespoon (14g) Unsalted Butter (for creaminess and flavor)
Equipment:
- High-speed blender
- Airtight container for storage
Instructions:
- Combine Ingredients: Carefully pour the simmering water into your blender. Add the granulated sugar, whole milk powder, and unsalted butter.
- Blend Until Smooth: Secure the lid and blend on high for approximately 1 minute. The goal is to fully dissolve the sugar and ensure all ingredients are completely incorporated into a smooth, homogenous mixture. There should be no grainy texture from the sugar.
- Check Consistency: At this stage, your condensed milk will be quite liquid. Don't worry, it thickens significantly as it chills.
- Chill to Set: Pour the mixture into an airtight container. Refrigerate for at least 2 hours, or ideally overnight, to allow it to thicken to the familiar condensed milk consistency.
- Address Foam (Optional): It’s completely normal for a layer of foam to form on top during blending or chilling. Before using, simply whisk the condensed milk vigorously for a moment or two until it becomes smooth and uniform.
Yields approximately 17oz (480g) of delicious homemade condensed milk. Prep time: 5 minutes. Total time (including chilling): 2+ hours.
Achieve Excellence: Tips for the Best Homemade Condensed Milk
While the recipe is straightforward, a few expert tips can elevate your homemade condensed milk from good to truly exceptional:
- The Power of Whole Milk Powder: This isn't just any milk powder; whole milk powder is essential. Its higher fat content is what gives homemade condensed milk its characteristic richness and creamy mouthfeel, closely mimicking the store-bought texture. Skim milk powder will result in a thinner, less luxurious product.
- Sugar Matters: While the recipe calls for granulated sugar, powdered sugar (confectioners' sugar) can dissolve even more readily, potentially reducing blending time and ensuring a super-smooth finish. If using granulated sugar, ensure your simmering water is hot enough and you blend long enough for complete dissolution; otherwise, you might end up with a slightly grainy texture.
- Butter Selection: Unsalted butter is highly recommended. It allows you complete control over the sweetness profile of your condensed milk. If you only have salted butter, you can still use it, but be aware it might introduce a slight salty note that could alter the flavor balance in your final desserts.
- The Role of Simmering Water: The heat from the simmering water is crucial for activating the milk powder and efficiently dissolving the sugar and melting the butter. Ensure it's hot enough (just steaming, not vigorously boiling) for optimal results. This method differs from traditional stovetop recipes that involve simmering milk for extended periods. Here, the blending and chilling do the work!
- Don't Rush the Chill: Patience during the chilling phase is paramount. The two-hour minimum is vital for the condensed milk to properly thicken and set. Refrigeration allows the milk fats to solidify and the solution to become more viscous.
- Proper Storage: Store your homemade condensed milk in an airtight container in the refrigerator. While some sources suggest it lasts up to a week, this particular no-bake recipe has been known to keep well for up to two weeks. Always use your best judgment and check for any off-smells or discoloration before use.
- Troubleshooting Graininess: If your condensed milk feels grainy after chilling, it's almost certainly due to undissolved sugar. This can be remedied by re-blending the mixture for another minute or two, ensuring all sugar crystals have broken down.
- Customizing Flavors: Feel free to add a splash of vanilla extract, almond extract, or even a pinch of cinnamon to your blend for flavored condensed milk. Add these during the blending stage.
For more detailed insights and advanced techniques to perfect your homemade creations, be sure to read our comprehensive guide: Achieve Perfect Homemade Condensed Milk: Essential Tips & Tricks.
Unleash Your Culinary Creativity: Ways to Use Homemade Condensed Milk
Now that you've mastered the art of making homemade condensed milk, the culinary possibilities are endless! This versatile ingredient can elevate a wide range of dishes:
- Dessert Dynamo: It's the star of many classic desserts. Think ultra-creamy fudge, no-bake cheesecakes, luscious key lime pie, or decadent tres leches cake. It's also fantastic in homemade ice cream bases, contributing to a silky, scoopable texture without ice crystals.
- Beverage Bliss: Stir a spoonful into your coffee or tea for a rich, sweet creamer. It's also an essential component in Vietnamese iced coffee (Ca Phe Sua Da) or various milkshakes and smoothies.
- Baking Booster: Use it to enrich bread puddings, moisten cakes, or create chewy cookie bars. It adds an unparalleled depth of flavor and moisture.
- Sweet Sauces: Gently heat it with a touch of butter and a pinch of salt to create a quick, luxurious caramel sauce perfect for drizzling over sundaes, fruit, or pancakes.
- Quick Treats: Blend it with cocoa powder for an instant chocolate sauce, or mix it with coconut flakes and chill for easy no-bake macaroons.
Conclusion
Making homemade condensed milk in just five minutes is a game-changer for any home cook or baker. It's simple, economical, and offers superior freshness and flavor compared to store-bought options. With control over your ingredients and the ability to adapt it to various dietary needs, this recipe empowers you to create culinary masterpieces with ease. So, next time a recipe calls for condensed milk, skip the grocery run and whip up your own batch. Your taste buds, and your kitchen, will thank you!
