Unlock Sweetness: Why Homemade Condensed Milk is a Game Changer
Imagine a world where you control the sweetness, the creaminess, and even the ingredients in your favorite desserts. That world is made possible with homemade condensed milk. Far more than just a store-bought staple, crafting your own offers a level of freshness, flavor, and customization that a can simply can't match. Whether you're a seasoned baker, a coffee enthusiast, or someone seeking healthier or dairy-free alternatives, learning how to make this versatile ingredient at home is a culinary superpower.
Homemade condensed milk is a rich, creamy, and wonderfully sweet concoction that elevates everything from pies and fudge to frostings and beverages. It's surprisingly easy to prepare, often taking mere minutes, and provides a delightful depth of flavor that can transform ordinary recipes into extraordinary treats. Beyond the superior taste, making it yourself offers complete control over the sugar content, fat type, and allows for specialized dietary needs, including fantastic dairy-free and vegan options. Say goodbye to unknown additives and hello to pure, unadulterated sweetness!
The Easiest 5-Minute Homemade Condensed Milk Recipe
Forget the long simmering times of traditional stovetop methods. We're diving into a revolutionary no-bake recipe that yields delicious homemade condensed milk in just five minutes. This quick and efficient approach utilizes the power of your blender to create a smooth, rich, and ready-to-use product that rivals any store-bought version. It's ideal for those last-minute baking inspirations or when you simply run out of your commercial supply.
Ingredients You'll Need for the Quick Blender Method
The beauty of this recipe lies in its simplicity and minimal ingredient list. You'll only need four common items:
- 1/2 cup (120ml) Simmering Water: The warmth helps dissolve the sugar and butter quickly, ensuring a smooth consistency.
- 1 cup (200g) Granulated Sugar: While powdered sugar is often recommended for its fine texture, granulated sugar works perfectly here thanks to the blender's power. If you prefer, you can blend granulated sugar into a fine powder first for an even smoother start, though it's not strictly necessary.
- 1 1/4 cups (150g) Whole Milk Powder: This is the secret to achieving that signature rich and creamy texture. Always opt for whole milk powder for the best results; skim milk powder won't provide the same richness.
- 1 Tbsp (14g) Butter: Adds a luscious mouthfeel and contributes to the overall richness. Unsalted butter is highly recommended for better control over the final sweetness, though salted can be used if you don't mind a slight flavor variation.
Step-by-Step Instructions for Instant Sweetness
- Combine Ingredients: In a high-speed blender, combine the simmering water, granulated sugar, whole milk powder, and butter. Ensure all ingredients are added to the blender jar.
- Blend Until Smooth: Secure the lid and blend on high for approximately 1 minute. The goal is for the sugar to be completely dissolved and the mixture to be smooth and homogenous. You shouldn't feel any grit when you rub a small amount between your fingers.
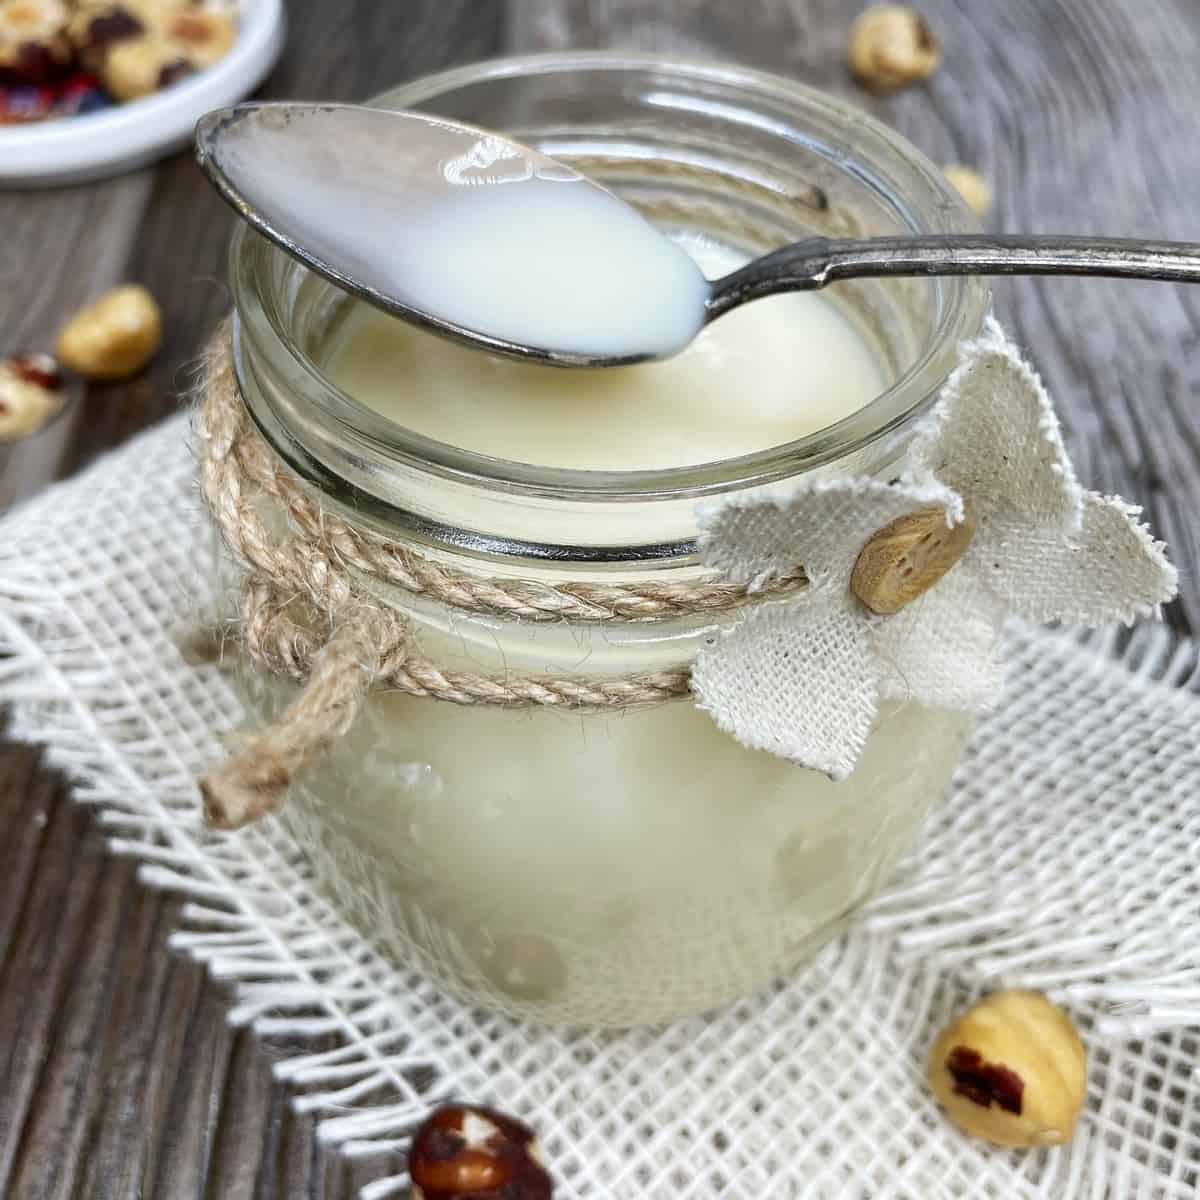
- Chill to Thicken: Pour the blended mixture into an airtight container or a bowl. While it might seem thin at this stage, refrigerate it for at least 2 hours. During this time, the fats and solids will chill and set, resulting in the characteristic thick, spoonable consistency of condensed milk.
- Whisk Before Use: It's completely normal for a foamy layer to form on top after chilling. Simply give your homemade condensed milk a good whisk until it's smooth and uniform before incorporating it into your recipes.
For more detailed insights into perfecting this quick method, check out our guide on Make Creamy Homemade Condensed Milk in Just 5 Minutes.
Crafting Dairy-Free & Vegan Condensed Milk: Your Plant-Based Options
One of the most exciting advantages of making homemade condensed milk is the ability to easily adapt it for dairy-free and vegan diets. The basic principles remain the same, but with a few smart ingredient swaps, you can achieve a wonderfully creamy, sweet, and entirely plant-based version that rivals its dairy counterpart.
Ingredient Swaps for Plant-Based Goodness
- Plant-Based Milk Powder: This is the crucial substitution. While whole dairy milk powder provides richness, you'll want to use a high-quality plant-based milk powder for dairy-free versions.
- Full-Fat Coconut Milk Powder: This is often the best choice for achieving a comparable richness and creaminess. Its natural fat content mimics dairy fat well. Be aware of a subtle coconut flavor, which can be lovely in many desserts.
- Soy Milk Powder or Almond Milk Powder: These can also work, though they might result in a slightly less rich texture compared to coconut milk powder. You might need to adjust the amount slightly to achieve the desired consistency.
- Vegan Butter: Replace regular butter with your favorite brand of vegan butter. Most vegan butters are formulated to mimic the taste and texture of dairy butter, making this a straightforward swap.
- Plant-Based Liquid Milk (Optional, for different methods): If you're exploring a stovetop method, or if your recipe calls for liquid milk, use full-fat canned coconut milk (the thick cream on top), or a rich plant-based milk like full-fat oat milk, cashew milk, or soy milk. Almond milk can work, but choose an unsweetened, unflavored variety with a higher fat content for the best results.
When making dairy-free condensed milk, taste and adjust. Different plant-based powders and butters can vary in flavor and fat content, so a small tweak to sugar or the amount of powder might be necessary to hit that perfect balance. The outcome is a wonderfully versatile ingredient that opens up a world of dairy-free dessert possibilities.
Tips for Perfect Homemade Condensed Milk Every Time
Achieving consistently perfect homemade condensed milk is simpler than you might think, especially with the quick blender method. Here are some essential tips and actionable advice to ensure your batch is always a success:
- Always Use Whole Milk Powder: For the classic dairy version, full-fat whole milk powder is non-negotiable. It provides the richness and body that skim milk powder simply cannot.
- Ensure Sugar Dissolves Completely: The most common issue with the blender method is grainy condensed milk. Blend for the full minute (or even slightly longer if needed) to ensure the sugar is entirely dissolved. Simmering water significantly aids this process.
- Chill for Consistency: Don't skip the refrigeration step. While the mixture is liquid after blending, chilling for at least 2 hours is crucial for it to thicken to the desired condensed milk consistency.
- Whisk Away Foam: A layer of foam on top after chilling is perfectly normal. It's just air incorporated during blending. A quick whisk will smooth it out, making your condensed milk ready for use.
- Control Sweetness with Unsalted Butter: Using unsalted butter gives you complete control over the flavor profile. If you only have salted butter, be aware it might slightly alter the taste, especially in delicate desserts.
- Adjusting Texture: If your condensed milk is too thin after chilling, try adding a tiny bit more milk powder and blending again, then re-chilling. If it's too thick, a tablespoon of warm water can help thin it out.
- Storage is Key: Store your homemade condensed milk in an airtight container in the refrigerator. It typically lasts for up to 1-2 weeks. While some sources suggest one week, an airtight seal and proper refrigeration often extend its freshness. You can also freeze it in ice cube trays or small portions for longer storage, then thaw in the fridge when needed.
For even more in-depth advice and troubleshooting, be sure to explore our article on Achieve Perfect Homemade Condensed Milk: Essential Tips & Tricks.
Versatile Uses for Your Homemade Sweet Treat
Once you've mastered the art of making homemade condensed milk, a world of culinary possibilities opens up! Its creamy texture and rich sweetness make it an incredibly versatile ingredient, perfect for enhancing a wide array of dishes and drinks. Here are just a few ideas to get you started:
- Desserts: This is where condensed milk truly shines. Use it as a key ingredient in no-bake cheesecakes, luscious key lime pies, creamy fudge, indulgent caramel sauces, or as the base for homemade ice cream. It's also fantastic for soaking cakes (like tres leches) or creating rich bar desserts.
- Baking: Incorporate it into your cookie dough for extra chewiness, add it to muffins for moisture and sweetness, or use it to make rich, chewy brownies. It can also be a secret ingredient in certain bread recipes for added tenderness.
- Beverages: Elevate your daily coffee or tea with a swirl of homemade condensed milk for a touch of creamy sweetness. It's essential for traditional Vietnamese iced coffee (cà phê sữa đá) and can make an incredible hot chocolate or milkshake.
- Spreads & Toppings: Drizzle it over pancakes, waffles, or fresh fruit for an instant upgrade. Mix it with cocoa powder for a quick chocolate sauce, or simply enjoy it straight from the spoon (we won't tell!).
- Breakfast Boost: Stir it into your oatmeal or yogurt for a decadent breakfast treat.
The beauty of homemade condensed milk lies in its ability to adapt. Its rich, sweet profile complements almost any sweet dish, making it an indispensable ingredient in any kitchen.
Conclusion
Embracing the simplicity and versatility of homemade condensed milk is a rewarding culinary journey. From its delightful freshness and customizable sweetness to the ease of crafting dairy-free and vegan versions, it offers significant advantages over its store-bought counterparts. The quick, 5-minute blender method ensures that even on the busiest days, you can whip up a batch to elevate your baking, beverages, and desserts. With our comprehensive guide and practical tips, you're now equipped to create this essential ingredient with confidence and creativity. So, blend up a batch today and discover the sweet difference homemade truly makes!
